I Don't Want Windows 11: Tips of Getting Rid of Windows 11 Update
Windows 11 is now available for automatic upgrade from Windows 10, but some users still don't want to update to Windows 11, despite its innovative features and productivity benefits.
If you don't want any Windows 11 update in your Windows 10 computer, you can pause updates for a certain period of time, or permanently disable updates, or block the Windows Update service. If you want to pause updates, you can go to Settings > Update & Security > Windows Update, and click on the "Pause updates for" dropdown menu to select a time period. If you want to permanently disable updates, you can go to Settings > Update & Security > Windows Update, and click on the "Advanced options" button, then toggle off the switch under "Pause updates".
| Workable Solutions | Step-by-step Troubleshooting |
|---|---|
| 1. Disable/block automatic Windows 11 update |
Stop Windows 11 update permanently |
| 2. Go back to Windows 10 after Windows 11 upgrade | Go back to Windows 11 update in 10 days Return to Windows 10 at any time...Full steps |
* Qiling system backup and recovery software Windows 11 Upgrade Essentials include backing up data with Backup and Restore (Windows 11) to ensure disaster recovery.
1. I don't want Windows 11 but frequently receive automatic updates
You're tired of being interrupted by the Windows update message that keeps popping up and giving you options to update and restart now, remind you later, or schedule the install for a later time.
Microsoft is pushing automatic update notifications to personal PCs, prompting users to update to Windows 11. If you're determined to avoid Windows 11, it's time to customize your Windows updating preferences to avoid these notifications.
-
Methods to Stop Windows 11 update permanently:
Do you prefer a one-To disable the Windows automatic update feature, you can use the Qiling CleanGenius toolkit. This versatile tool allows you to disable/enable Windows Update, repair hard drives, remove/enable write-protection, and more with just a few clicks.
To disable Windows Update:
Step 1. Get Qiling CleanGenius for free and install it on your computer.
Step 2. Launch Qiling CleanGenius and go to "Optimization".
Step 3. If Windows Update is enabled, the tool will automatically detect this and allow you to switch it off by clicking a button.
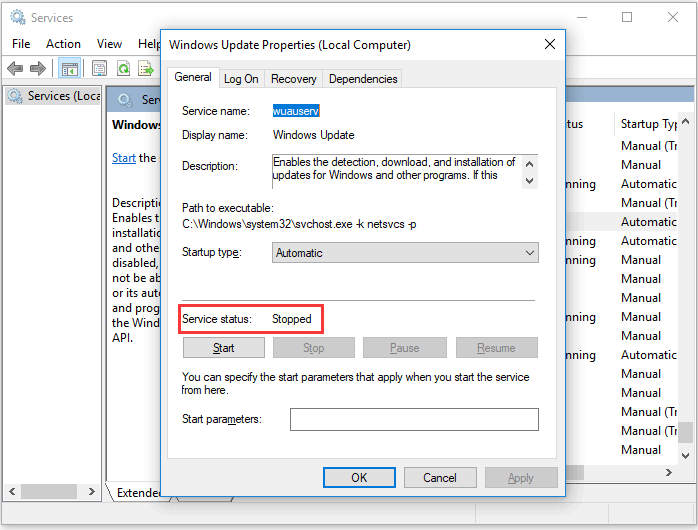
Step 4. To check if you have disabled the service automatically, go to "Start" > type "Services" > right-click "Services" and choose "Run as administrator".
Step 5. To check the status of the Windows Update service, go to the Services list, right-click on Windows Update, select Properties, and in the Service status section, verify that the service has been stopped.
-
Methods to Stop Windows 11 update temporarily (1~5 weeks):
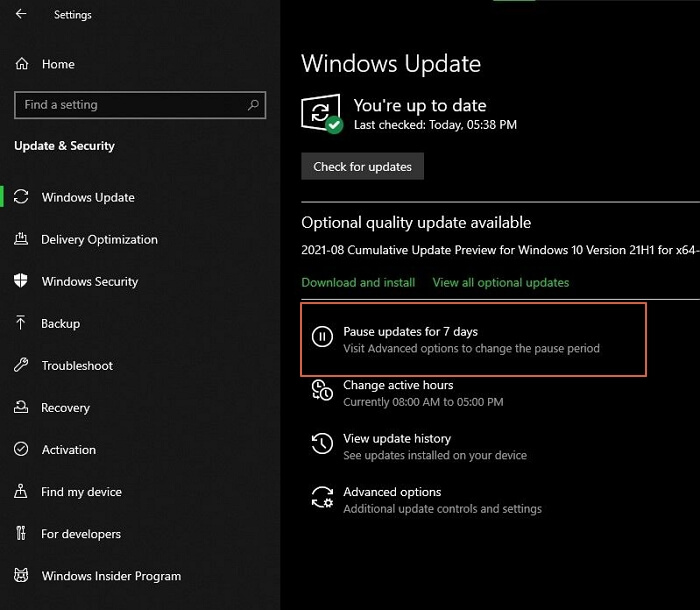
Windows 11 allows you to pause updates for up to 35 days, giving you control over when and how to receive the latest updates.
Step 1. Go to Start, then Settings, then Windows Update, and click on Pause updates for 7 days.
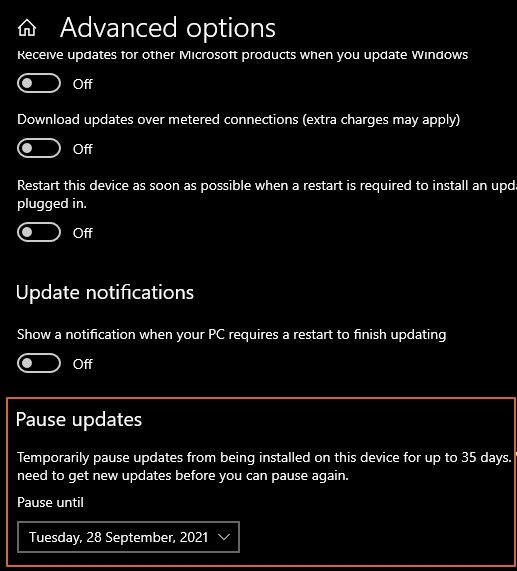
Step2. In the Advanced options, select the desired pause time to temporarily stop Windows updates. Note that once the pause limit is reached, you'll need to install the latest updates before pausing again.
2. I don't want Windows 11 after I upgraded from Windows 10
To remove a recent Windows update, go back to an earlier system state within Microsoft's 10-day time limit. If your experience with Windows 11 is poor, take the time to roll back to a previous version before the time limit expires.
-
Full steps to roll back to Windows 10 within 10 days:
Step 1. Press Windows + I to open Settings in Windows 11.
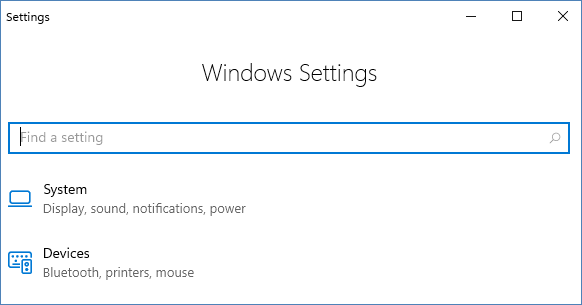
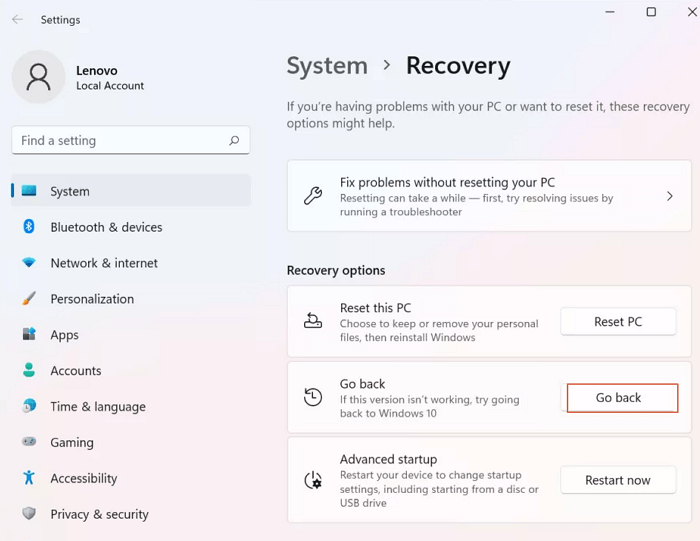
Step 2. To go back to a previous version of Windows, go to System > Recovery, and under the Recovery Options, click on "Go back" below Reset PC.
Step 3. If you've decided to uninstall the current Windows 11 OS, click each Next button quickly to skip the feedback questions.
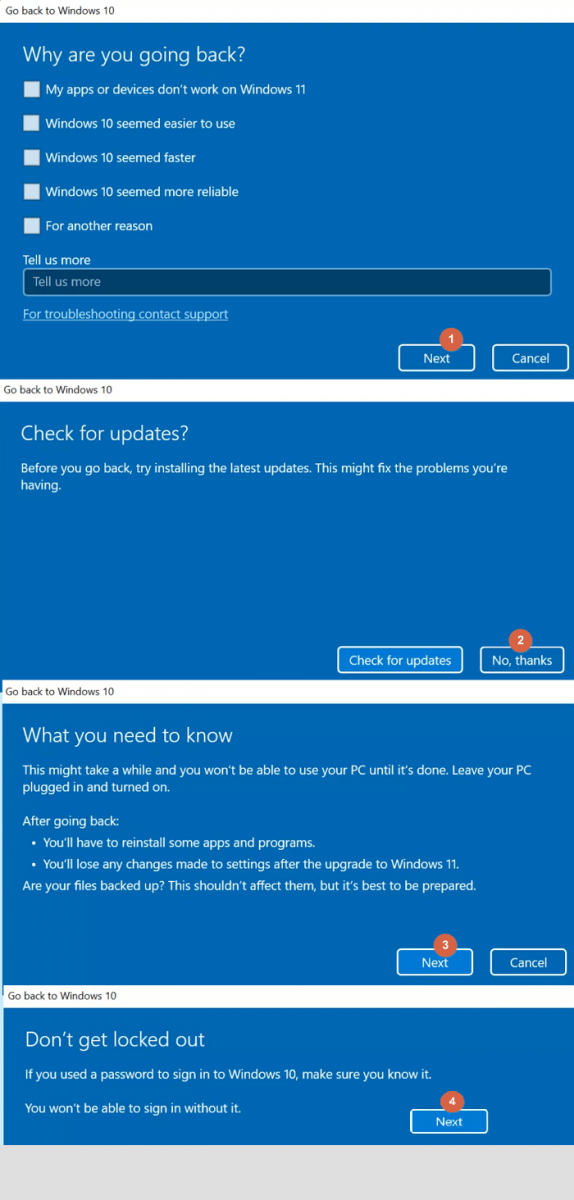
Step 4. To go back to an earlier build or Windows 10, click the corresponding button in the "Go back to" window. The "Go back to" window will appear when you click the "Get started" button in the "Update & security" section of the Settings app.
Step 5. The system will restart to uninstall Windows 11 and revert back to a previous Windows 11 build or Windows 10.
-
Full steps to downgrade Windows 11 to Windows 10 at any time:
If you created a Windows 10 system backup image, it can help you restore everything back to its original state in case of a hard drive crash or computer malfunction. This system image can also be used to uninstall an unwanted Windows 11 operating system by restoring the original Windows 10 setup.
To create a Windows 10 backup image, download Qiling Windows backup software on your PC and follow the overall guide provided. This will help you create a backup image using Qiling Backup.
If you're unhappy with Windows 11 after upgrading, you can restore your Windows 10 backup image using system recovery, which will revert your computer back to Windows 10 after a reboot.
*Try to boot the computer with the Qiling Backup emergency disk to accomplish system recovery on a non-bootable machine..
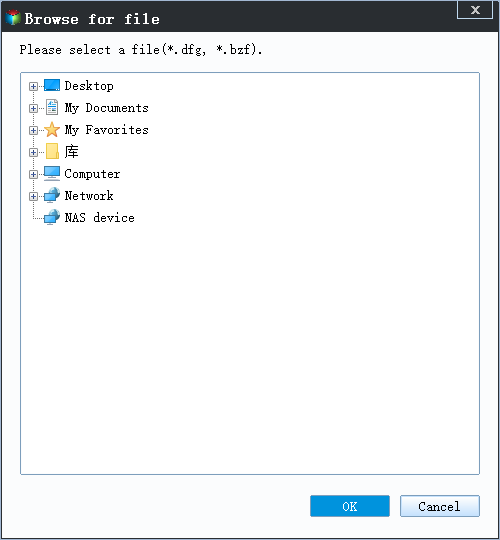
Step 1. Click Browse to Recover to luanch Qiling Backup.
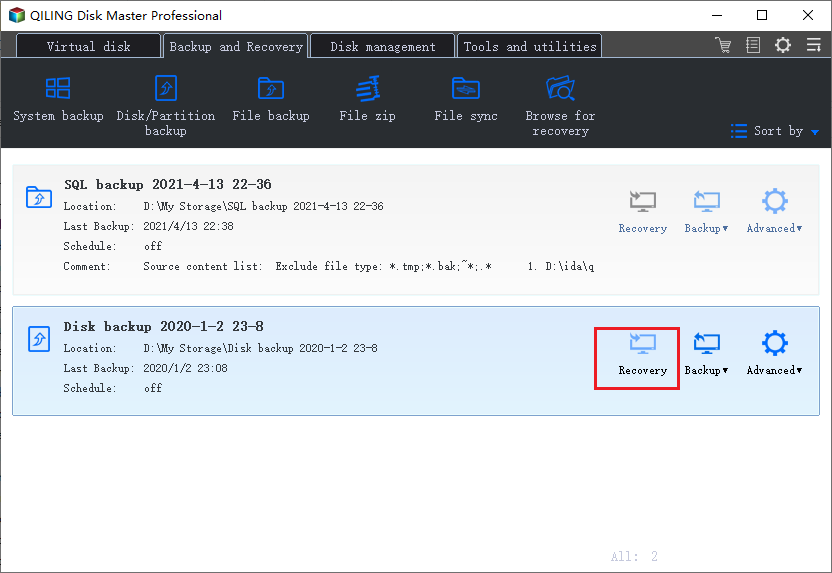
Step 2. Navigate to the backup location, and then select the system backup file you need. (The backup file created by Qiling Backup is a dfb file.)
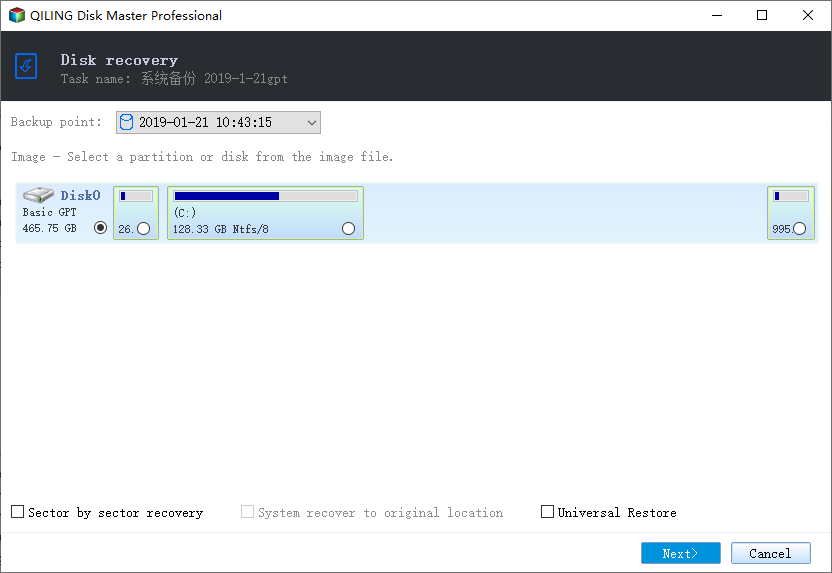
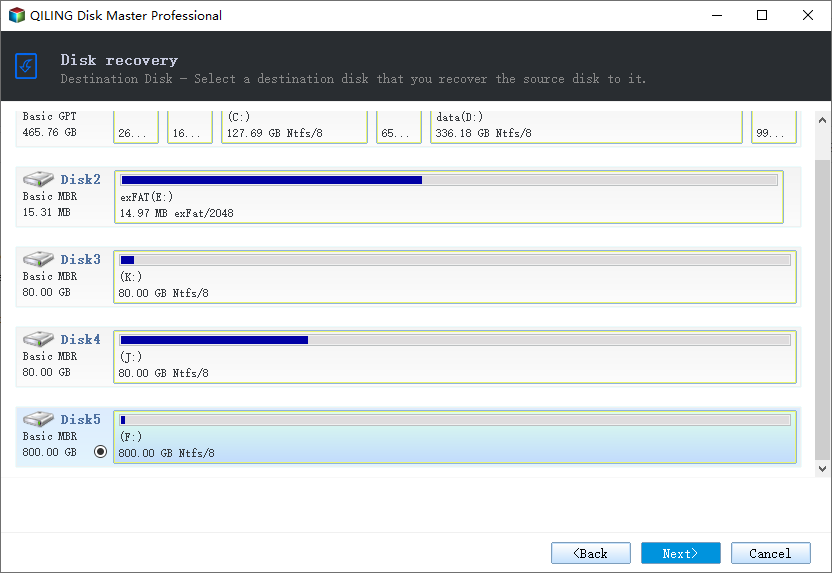
Step 3. Verify that the source and recovery disks have the same partition style, and select a recovery disk.
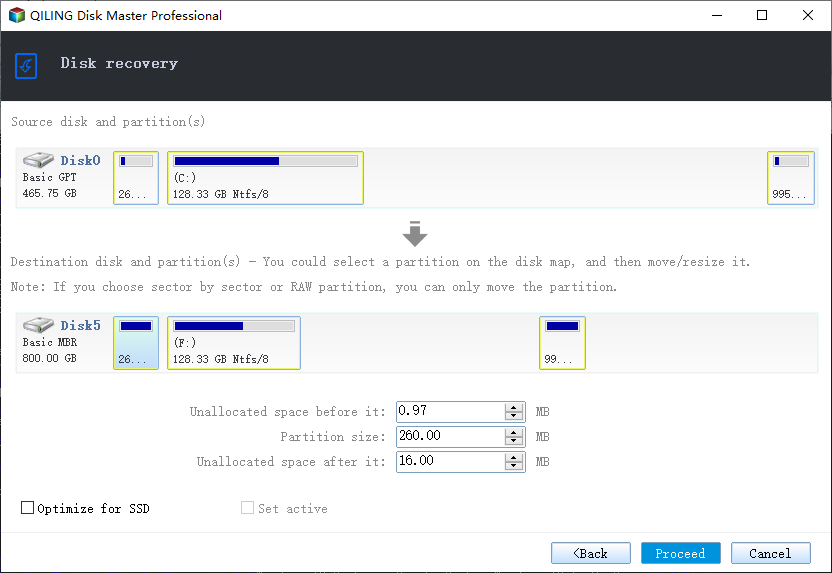
Step 4.To start system backup recovery, select the "Proceed" option after changing the disk layout to suit your requirements.
Closing Words
Microsoft's push to upgrade to Windows 11 has left some users feeling reluctant, and for those who don't want the new update, this guide provides a solution to turn off the automatic update service, either temporarily or permanently.
For those who regretted upgrading to Windows 11, it's possible to roll back to a previous Windows 10 system state using a system recovery method.
Related Articles
- 2022 Best Antivirus Software for Windows 11 (Top 5) + Secure Backup
- [7 Solutions] How Do I Backup Computer to Cloud? Here Is the Complete Guide
- Is Vimm's Lair A Safe Site to Download Games?
- Oops, Your Files Have Been Encrypted - What to Do Safely?
If your files have been encrypted by WannaCry or Wanna Decryptor, and you need to recover them, follow this step-by-step guide to remove ransomware from your computer. - Unable to Mount Clonezilla Image to Restore Single File
How to mount and explore Clonezilla image to solve unable to mount Clonezilla image to restore single files in Windows? Get the 3 solutions below. - 2 Ways to Unpack Windows Backup File and Restore Individual Files
This tutorial offers you two solutions to unpack Windows backup file and restore individual files. You'll find an advanced backup tool to help you with individual file recovery.