Free Up Disk Space in Windows 11 Can Be Easy Enough Now
If your PC is running low on space in Windows 11, it can be stressful. The good news is that you can easily free up disk space with a few simple solutions.
- 1. Empty Recycle Bin
- 2. Use Disk Cleanup Tool
- 3. Enable Storage Sense
- 4. Clean Up Junk Files with Software
- 5. Uninstall Applications You No Longer Need
How Much Space Does Windows 11 Take
Windows 11 setup requires approximately 27 GB of free disk space to be installed on a computer.
If you have installed Windows 11, you can find what is eating up your disk space in Windows 11 by the following steps.
Step 1. Select the Start button, and then select "Settings".
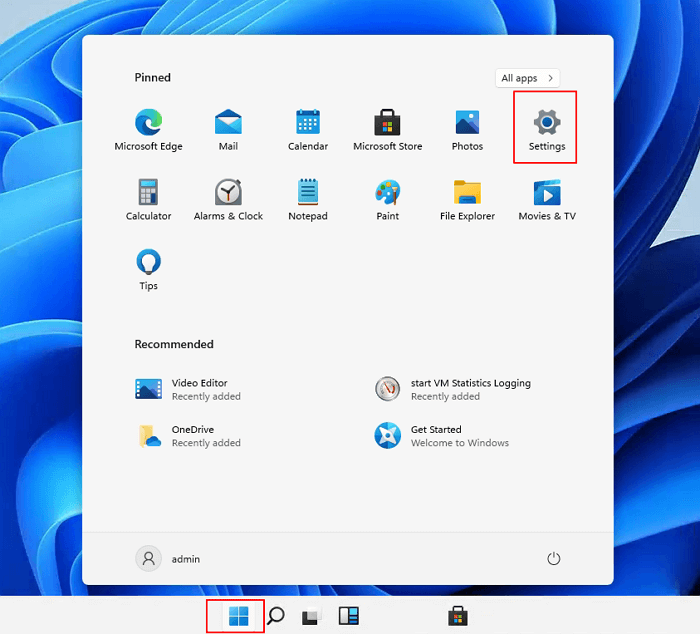
Step 2. Go to the "System" section and click on "Storage" to see what is taking up your disk space.

How to Free up Drive Space in Windows 11
To avoid running out of disk space on Windows 11, consider resetting your PC, but be aware that you may lose other data. Alternatively, follow these solutions to free up disk space: follow the steps below.
Method 1. Empty Recycle Bin
When deleting files in Windows 11, they don't get erased, but rather stored in the Recycle Bin. This allows for easy recovery if needed. However, if not regularly emptied, the bin can consume significant storage space, making it a good starting point to regain space.
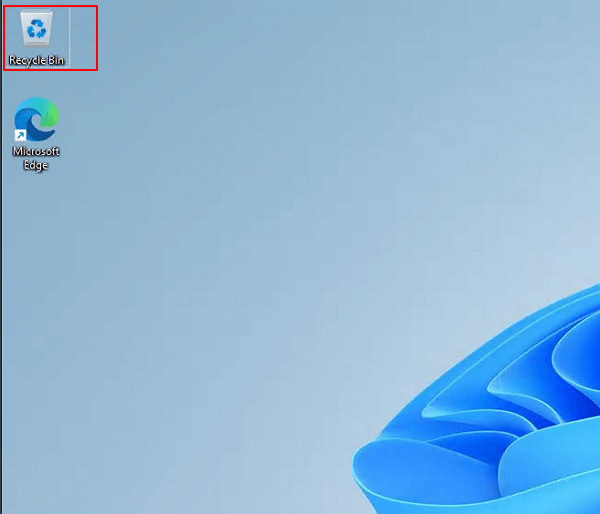
Step 1. On the desktop, right-click the recycle bin icon.
Step 2. Select "Empty Recycle Bin" and click "OK".
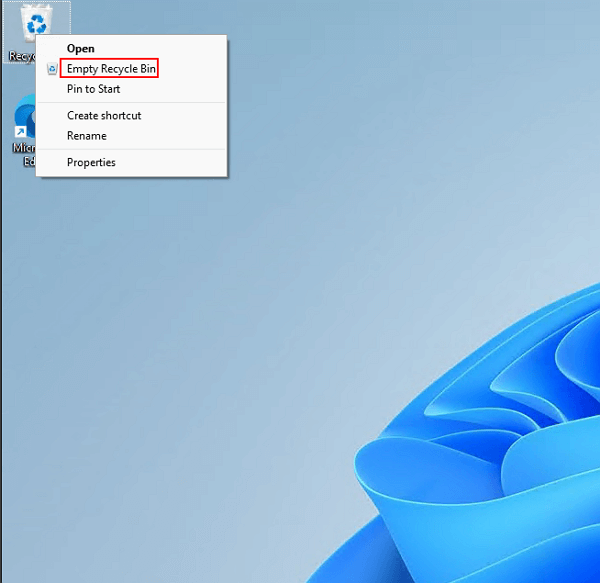
Once you complete the steps, the system will free up around ten percent of the drive capacity (assuming the Recycle Bin is at capacity).
Method 2. Use Disk Cleanup Tool
The Disk Cleanup tool is a Windows 11 built-in tool that helps free up drive space and improve the performance of your computer. To use it, you can follow the steps below:
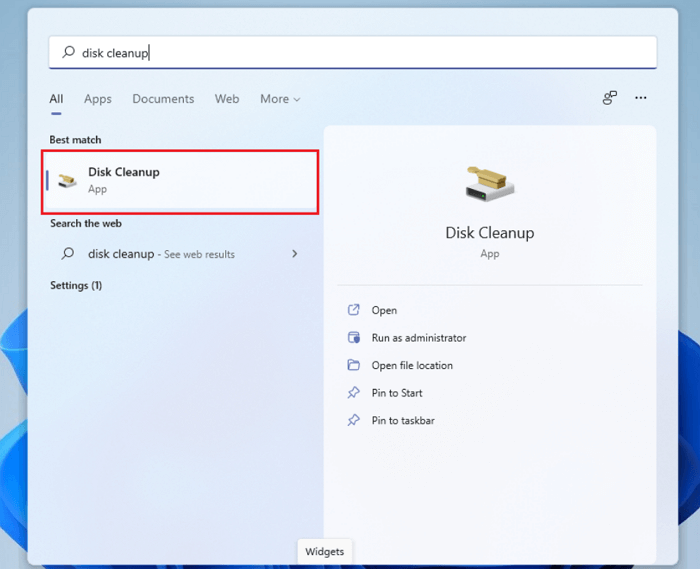
Step 1. To run Disk Cleanup, select the Start button, type disk cleanup, then select "Disk Cleanup" from the list of results.
Step 2. Check all the contents you want to clear. For example:
- Downloaded Program Files
- Temporary Internet Files
- Delivery Optimization Files
- DirectX Shader Cache
- Recycle Bin...
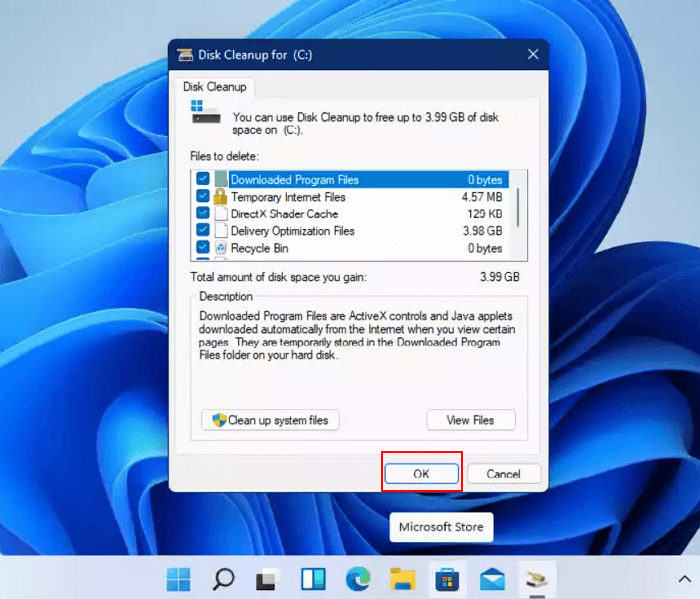
Step 3. Select the types of files to delete, click "OK", and then confirm the deletion by clicking "Delete files" in the next window to initiate the cleanup process.
Once you complete the steps, the unnecessary files will be removed from the computer, freeing up hard drive space.
Method 3. Enable Storage Sense
Windows 11 comes with a built-To prevent running out of space quickly, you can enable the feature Storage Sense to run maintenance automatically. This can be set up by following a series of steps, which allow the tool to run maintenance on its own, freeing up space on your device.
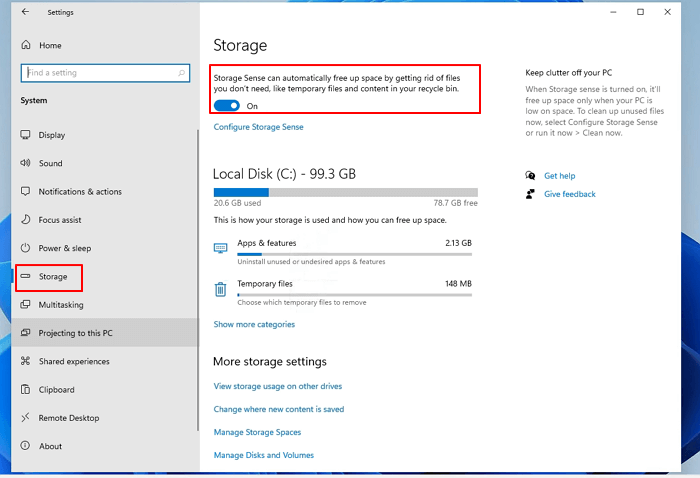
Step 1. Select the Start button, and then click "Settings".
Step 2. Navigate to System > Storage and turn on "Storage sense".
Step 3. To configure Storage sense, select the option and then toggle the checkboxes for Temporary Files and Locally available cloud content. Alternatively, you can use the "Run Storage Sense" drop-down menu and choose the most suitable option based on your specific situation.
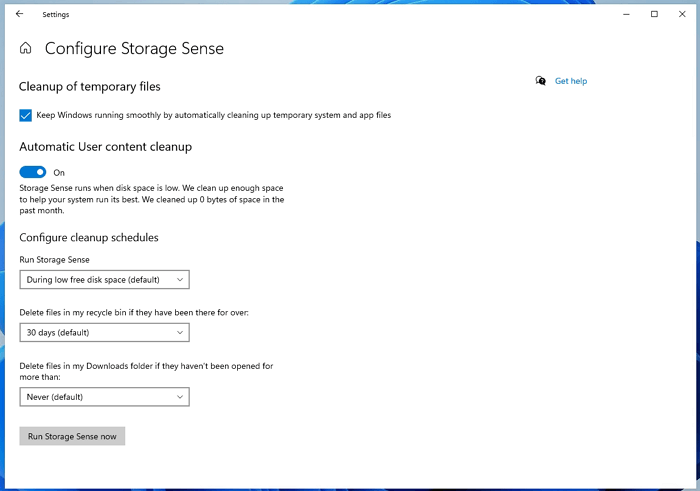
Once you complete the steps, Storage Sense will run automatically at the schedule you specified.
Method 4. Clean Up Junk Files with Software
If you're having trouble deciding which files to delete and which to keep, consider using a third-party disk cleanup software like Qiling CleanGenius, which can help you free up disk space without costing anything.
Step 1. To quickly clean up your computer, download and install Qiling Partition Master Suite, and then click on the PC Cleaner icon on the panel to start the cleaning process.
Step 2. Install Qiling CleanGenius on your PC. To begin with, navigate to "Cleanup" and click "Scan."
Step 3.Qiling CleanGenius will immediately start scanning all useless files, selecting system junk files and invalid entries, and then clicking "Clean" to thoroughly clean your PC.
Step 4.Once you've completed the process, you'll be able to see the total amount of data that's been cleaned in MBs or GBs. To finalize, click the "Done" button.
Method 5. Uninstall Applications You No Longer Need
To free up storage space on your Windows 11 computer, you can uninstall apps you no longer need or rarely use. To do this, go to the Start menu, click on the Settings icon, and then select the "Apps" option from the list. From there, you can browse through the list of installed apps, select the ones you want to uninstall, and click the "Uninstall" button to remove them.
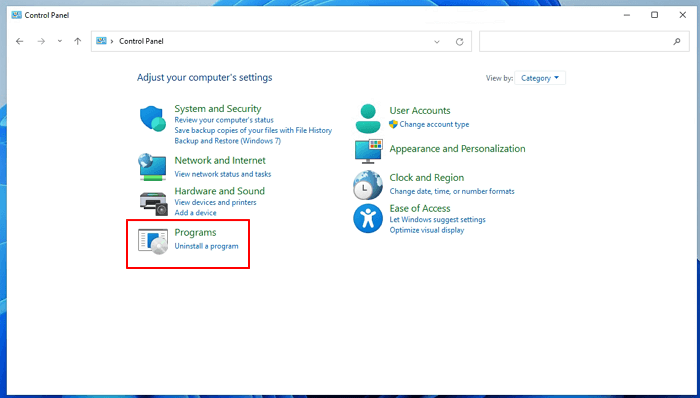
Step 1. To open Control Panel, select the Start button, type Control Panel, then select "Control Panel" from the list of results.
Step 2. Under the Programs, select "Uninstall a program".
Step 3. Right-click the program and click "Uninstall".
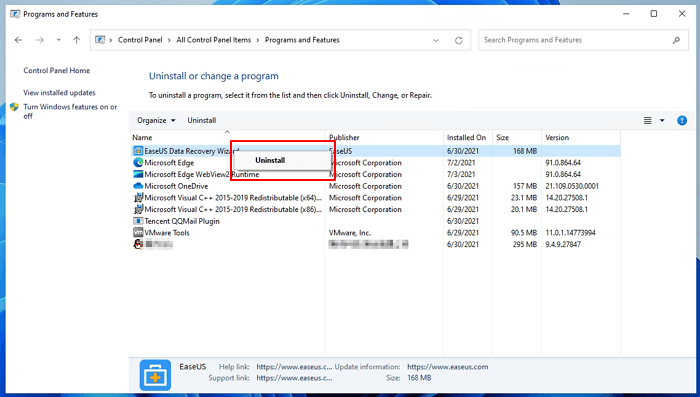
Once you complete the steps, repeat the same instructions to remove additional programs and games from your device, or use software to uninstall applications if you prefer a quicker method.
Bounus Tip - Add Free Space to Your Drive in Windows 11
If your C drive is almost full, you can add free space to it from other drives using a disk management tool like Qiling Partition Master. This tool allows you to add free space from drives D, E, or F to C drive, either with or without unallocated space, as long as these partitions are on the same disk. Simply follow the steps in Qiling Partition Master to add free space to the C drive and increase its partition space.
Step 1. Click on the D: partition with enough free space and select "Resize/Move" to free up space.
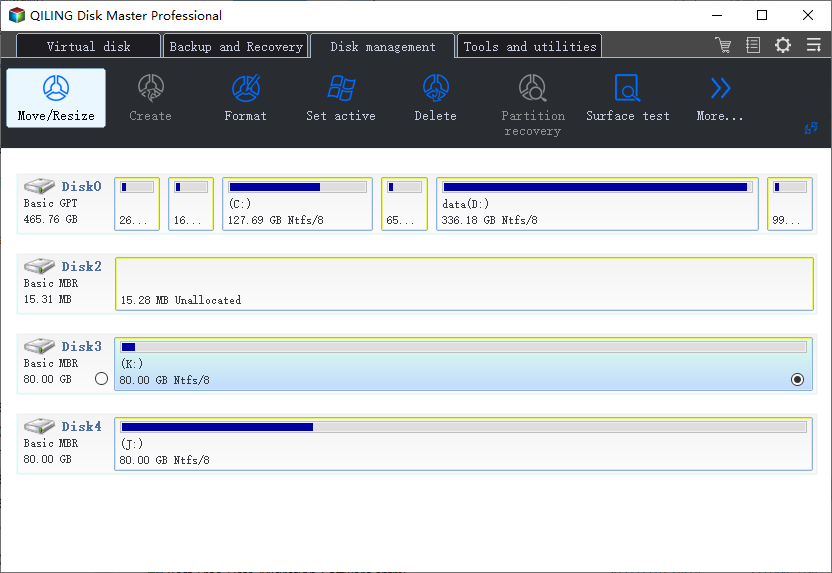
Step 2. To free up space, drag the D: partition to the right or left, making it smaller, and then click "Proceed".

Step 3. To resize the C: drive, select it as the target partition and choose the "Resize/Move" option. Then, drag the partition panel to the right to add free space from the D: drive to the C: drive.
Step 4. To proceed, you can click the "Proceed" button to start the process of moving free space from the D: drive to the C: drive. This will initiate the transfer of available space from the D: drive to the C: drive, allowing you to utilize the additional storage capacity on the C: drive.
Conclusion
You've learned how to configure Windows 11 to free up disk space and improve performance by implementing five key strategies. If you encounter any issues or have additional tips to share, feel free to reach out to us through Live Chat or email.
Related Articles
- Top 5 Disk Management Tools for Windows 11 in 2022
- How to Fix Hard Drive Very Slow in Windows 10/8/7
- How to Delete All Partitions on Windows 11
- Free Download SD Card Formatter: All Memory Card Format Software Free Download
- 3 Ways to Resize Partition Windows 10 without Losing Data
How to resize partition Windows 10 without data loss? In this article, 3 ways are listed to help you extend or shrink partition on Windows 10 for free. - Solved: Second Hard Drive Not Detected in Windows 11/10/8/7
If you find your second hard drive not detected in Windows 10, read this post, please. It teaches you what to do respectively when second hard drive is not detected in FIle Explorer, Disk Management, BIOS or after Windows 10 update.