Does Dell Migrate Move Programs? Check Dell Migrate and Other Option
Data matters to us. I still remember the exciting mood when I saw the old photos from my old device (Ready to be sold a second hand.) Those memories are invaluable and worth saving to a safe location. Have you purchased a new Dell PC? We should move it and enjoy the price data, no matter what old or new PC we're using.
This article will guide you on how to use Dell's migration tool to easily migrate from Windows 8.1 to a higher Windows operating system. The Dell migration tool helps transfer user accounts, settings, and applications to the new Windows version, making the process smooth and hassle-free. It does not move programs, but rather preserves the applications and their settings, allowing you to pick up where you left off on the new operating system.
What Is Dell Data Assistant?
Is Dell Migrate Free?
How to Transfer File and Settings Using Dell Migrate?
Does Dell Migrate Move Programs?
How Do I Transfer Programs from Dell Computer to Another?
What Is Dell Data Assistant?
Dell Migrate is a tool that helps transfer files and personal settings from an old PC to a new Dell PC, making it easy to import files and settings from various sources, including other computers, cloud storage, external drives, and more. It ensures that all important data and settings are transferred smoothly and efficiently, making it a simple and quick way to move files and settings when upgrading or switching systems.
Is Dell Migrate Free?
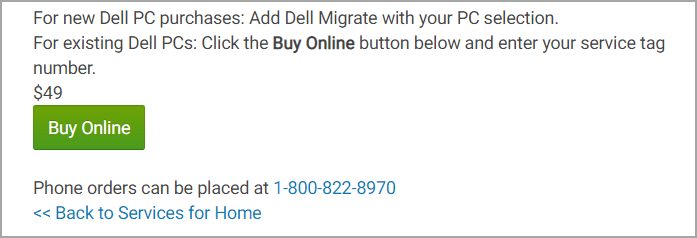
Dell's website states that it is not free for existing Dell devices, requiring a $49 purchase for each device.
How to Transfer File and Settings Using Dell Migrate?
Step 1. Click Buy Online from the website.
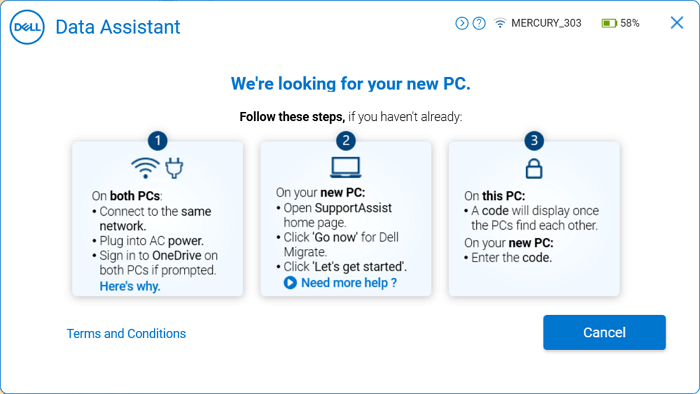
Step 2. Connect both PCs to AC power, ensure they're open and running, and confirm they're on the same LAN network.
Step 3. Close all running applications.
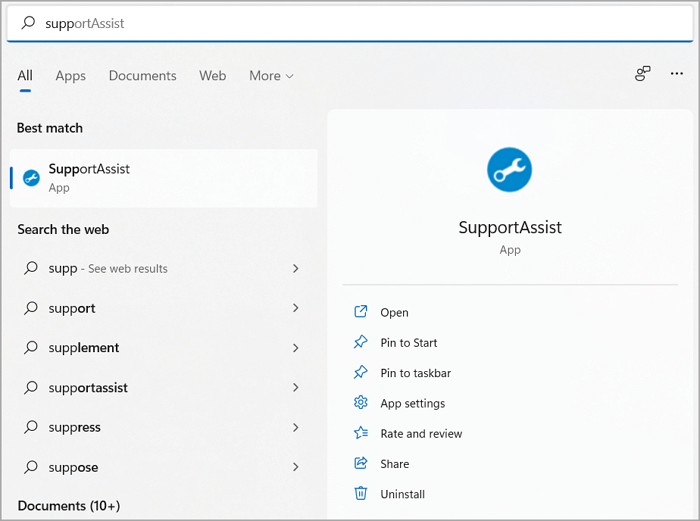
Step 4. To start data transfer, run SupportAssist on your PC. It can be found in the Start menu, and it's preinstalled on Dell devices. If not, you can download it from the SupportAssist website.
Run it on the target Dell computer.
Click Yes when it says, "Would you like to start using Dell Migrate?".
On the Dell Migrate screen, click "Let's Get Started" and confirm you're on a trusted network. If not, reconnect to a trusted LAN and restart the process.
Step 5. Follow the instruction to download Dell Data Assistant.
When the Migrate page appears, click "Let's get started." Then, follow the steps to connect two devices and pair them by entering the verification code.
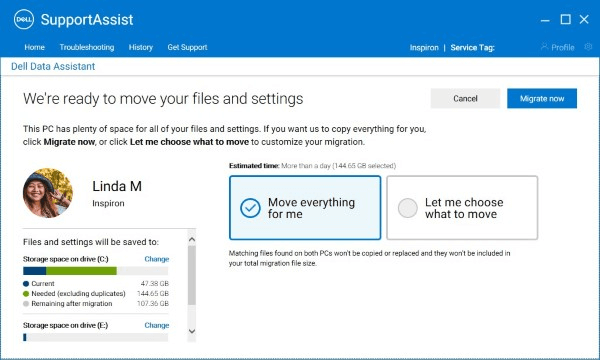
Step 6. Check any data you can migrate and click "Migrate Now."
Twp transfer options:
- Dell Migrate will migrate all files and settings scanned by it.
- Let me choose what to move - Decide what to transfer or not.
Dell's backup and syncing process, such as Dell Backup and Recovery, typically syncs user files and settings, but not installed programs or their associated data. This means that if you reinstall Windows on a new computer, you'll need to reinstall your apps, but your files and settings will be restored from the backup. However, some third-party syncing services, like OneDrive or Google Drive, may also sync installed apps, depending on the specific service and its settings. It's always a good idea to verify what is and isn't synced with your chosen backup and syncing solution.
Does Dell Migrate Move Programs?
Dell does not migrate programs when transferring files and settings, instead focusing on moving essential data and settings from one device to another. This allows users to quickly transfer their important files, documents, and settings without losing any critical information.
Dell doesn't automatically transfer programs when moving data and settings, but users can transfer files via local network, external hard drive, or cloud storage, ensuring a safe and uninterrupted transfer of data and settings from one device to another.
Dell's migration of files and settings is crucial for a smooth transition between devices, ensuring that users can easily transfer important information without interruption, making it ideal for work or personal use.
How Do I Transfer Programs from Dell Computer to Another?
If you're looking to transfer programs from your Dell computer to another device, Qiling Disk Master can be a helpful tool. It allows you to easily move your software and data files between PCs, making it simple to switch between devices without losing any important data or software.
To use Qiling Disk Master, install the application on both your Dell computer and the device you want to transfer to, then select the type of program you'd like to move (e.g. applications or documents), choose the specific items to copy, and click the "Transfer" button to initiate the process.
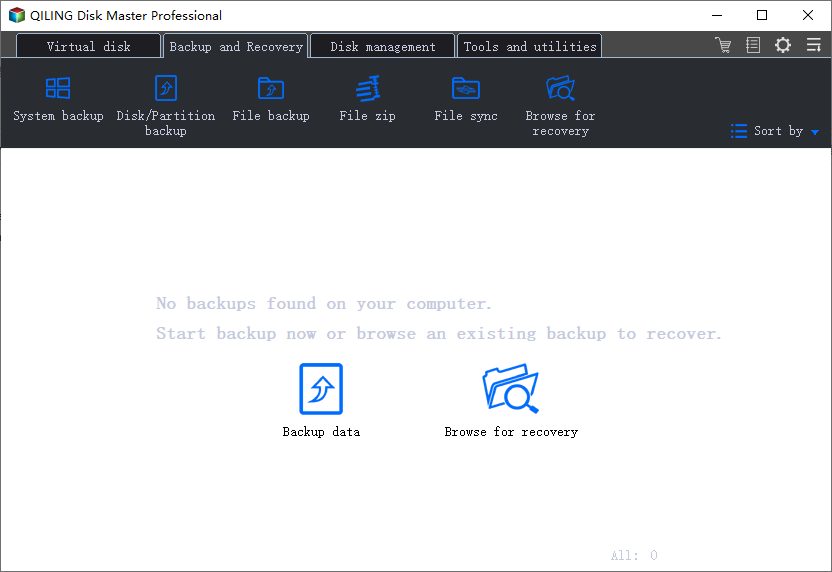
Step 1. Run Qiling Disk Master on both PCs
On the source PC, select "File sync" on the main screen of Qiling Disk Master and proceed further.
Step 2. Connect two computers
1. Connect to your target PC via its IP address or device name and click "Connect".
2. To confirm the login, enter the password of the target PC and click "OK".
If you didn't see the target PC in the listed devices, you can also manually connect the target PC by clicking "Add PC" and inputting its IP address or device name.
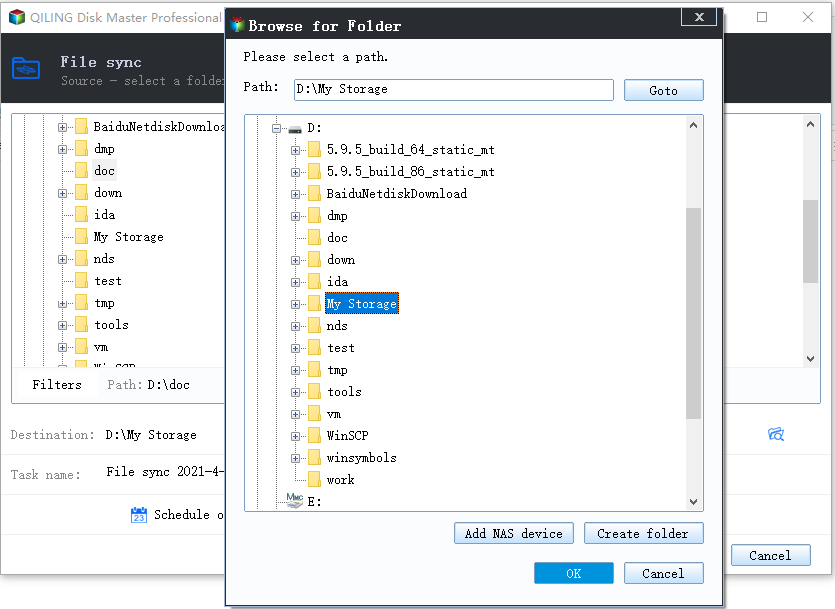
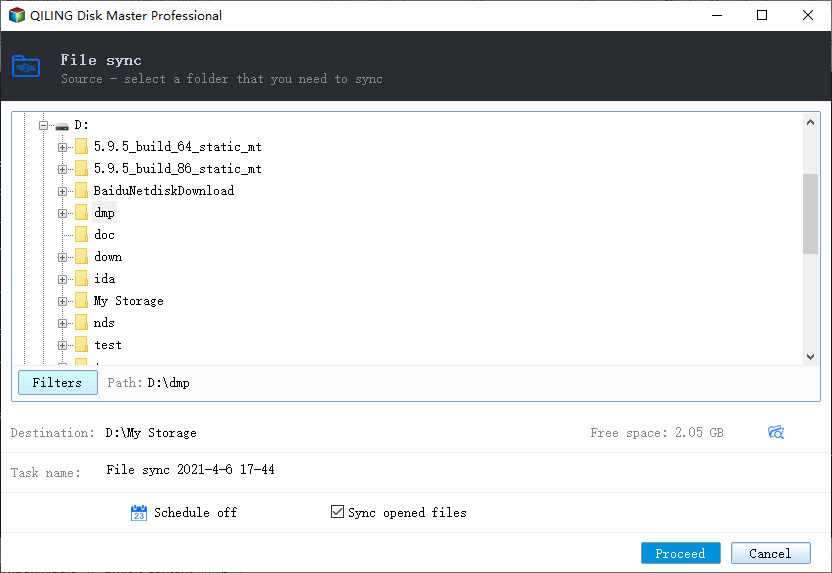
Step 3. Select apps, programs, and software and transfer to the target computer
1. You can manually select and choose what you want to transfer from the current computer to the target PC.
2. Select the desired applications and programs, then click "Transfer" to initiate the transfer process.
Qiling Disk Master offers a fast and efficient way to transfer selected items, eliminating the need for complicated configurations or settings. This makes it an ideal solution for users looking to easily move their programs from one device to another.
Related Articles
- Windows Server Transfer | How to Transfer Applications from One Windows Server to Another
- How to Move Games to Another Drive Windows 11 [Beginner's Guide]
- How to Factory Reset Windows 11 without Moving Apps/Programs
- How Do I Transfer Google Photos to Another Account [4 Ways]
- Solved: Windows 7/10 Could not Find a Backup for This Computer
To fix recovery error "Windows could not find a backup for this computer", you need to restore the change made to system image backup or restore from network location. But the best way is to use an alternative backup software to back up and restore system. - Fixed: SFC Windows Resource Protection Could Not Perform
This page shows how to fix 'Windows Resource Protection could not perform the requested operation' easily and suggests backing up Windows in case of sfc /scannow not working.